Artificial Lawn Installation – A Simple, Fast Process:
First we excavate 4-5 inches of soil – an optional weed barrier may required on top of the excavated area if ground conditions are soft.
We then fill the excavated area with a 803 (mot type1) base to create the sub-base. The sub-base should be approximately 2-3 inches deep and compacted using a plate compactor.
The next layer is a granite dust or 3mm grit known as screed – this allows us to get the final surface finish as flat as possible.
We will then lay a road-grade, Geo-textile membrane which overlaps the edges and is nailed into place with 5 inch, non-galvanized nails
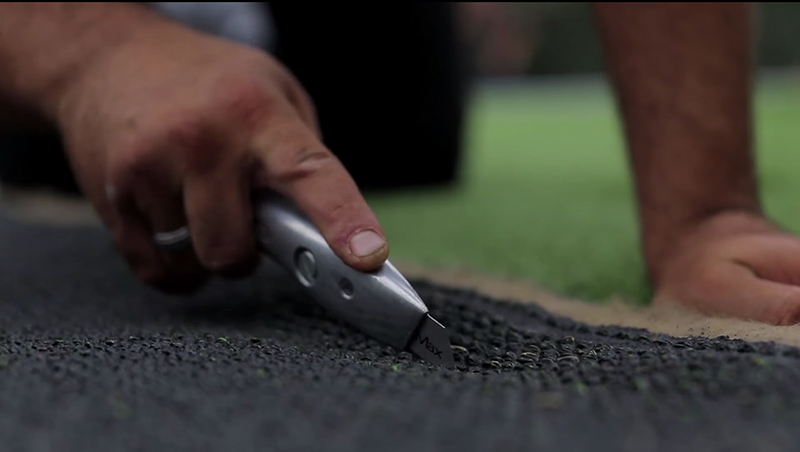
The edges are then trimmed to fit the artificial lawn installation area – a weed barrier may also be laid down on top of the sub-base if necessary.
Now it’s time to install the artificial grass. We unroll the turf mats and allow the fibres to settle for at least two hours, to ensure any cutting is uniform.
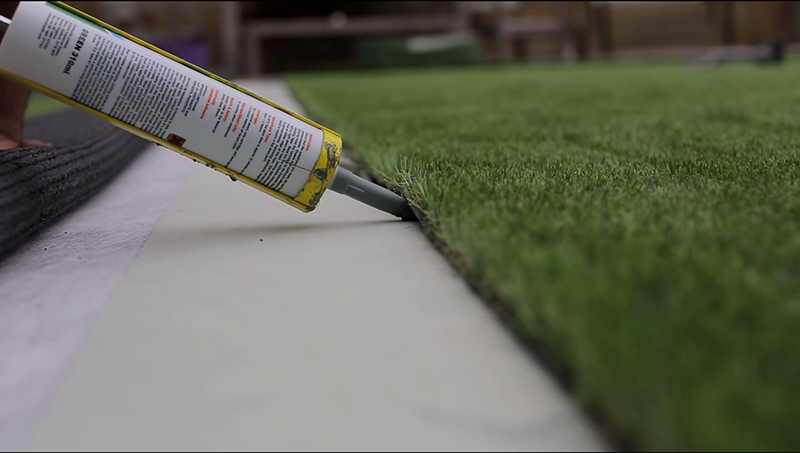
If the installation requires joining, we use seam tape and glue to attach the two pieces. The seam is secured into place with 125mm, non-galvanized nails every 200mm on both sides of the seam. Secure the artificial grass using 150mm, non-galvanized nails every 150mm around the perimeter and 40mm from the lawn edge.
Now the artificial lawn is installed, a power broom is used to bring the pile up, and a drop spreader used to evenly spread 5kg of kiln dried sand per square meter which is then brushed into the thatch of the grass.
![]()
Key Benefits of Maintenance
Maintaining your lawn is the key to preserving its lushness and beauty – so you can enjoy it for years to come.
Cleaning up after pets
Clearing debris
Occasional rinse
Spillages and stains
Brushing